


Why try it out?
With more and more cities banning the use of plastic bags, the need for canvas shopping bags is on the rise. What better way to fill this need than with your own branded bags? And with Photojojo, you can try out your logo on a few bags before you have them mass produced, saving you time and money. You can give them within the office for promotions and as gifts for your employees, so that your logo is seen while your employees are out shopping. You can also use them for t-shirts, signs, and promotions within the office, when you do not really have a need or budget for a mass produced item.
What is it?
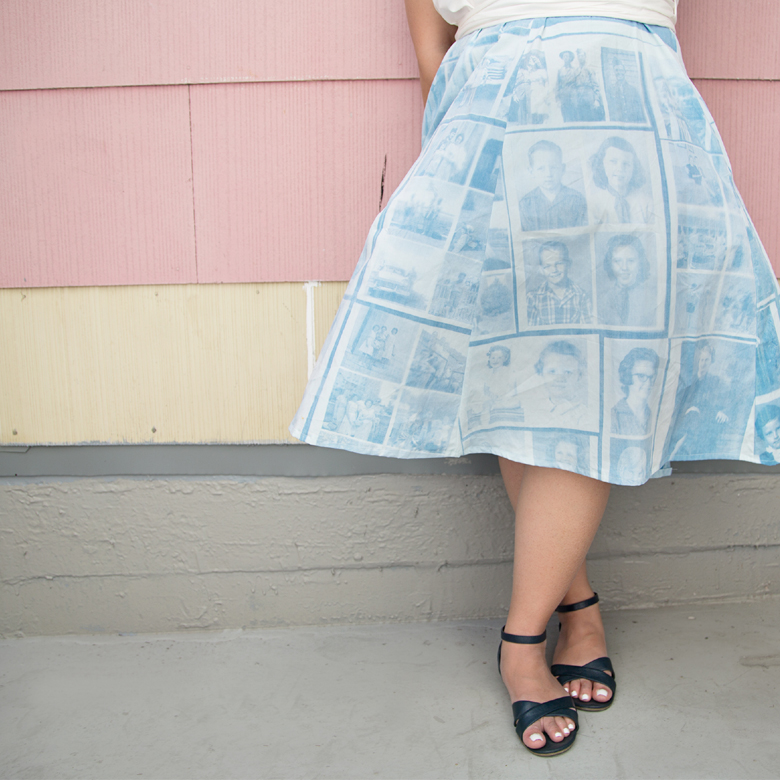
An easy way to test out your image before ordering mass production is with Photojojo’s Inkodye Fabric Dye Kit. It allows you to test a negative without anything but their product and sunlight. Photojojo also states, “you can use small objects like plants and feathers to create images out of silhouettes. Better yet, cut silhouettes out of paper to make your own designs.”

In the kit you will receive: blue Inkodye (enough to make four 12×12 prints), Inkowash detergent (to set your new prints), a roller attachment for the Inkodye, a test negative, and instructions. To get started, you will need whatever you are going to print on (t-shirts, canvas bags, pillows, wood, etc.) and then you will just follow a few easy steps. If you have an iOS device, you can download the free Lumi app to guide you through the entire process, but it is not necessary, because it is pretty simple.
Six step process
One: print your image as a negative; the higher the contrast, the better the final product. (If you are not sure how to do this, Photojojo can help).
Two: tape off the area you want the image to appear. You do not want the magic dye to escape from where you want your images, so tape it like you mean it. Since you are going to have to move your final product outside in order for the image to “develop,” you want to make sure it stays firmly in place.
Three: Shake your dye bottle and paint the area of your fabric you wish the image to appear.
Four: Tape down that negative. Remember, tape is your friend!
Five: Take it outside and expose it! On a clear, sunny day, exposure will only take about six to eight minutes.
Six: Once you have achieved your desired look/exposure time, take the product back inside, remove all your carefully placed tape and throw it in the washer. You want to use hot water and an additive-free soap (chemicals are bad with the dye). Photojojo suggests a tiny bit of Dawn dish soap. Before letting it run through the washer cycle, run it under the water and scrub it with your fingers. This stops the developing process and removes and unexposed dye. Let it run through the washer and you are all done.
Our bet is that once you’ve tried some of this out on your own and gotten a response from employees or customers, you’ll be ready for mass production, but have some fun with magic ink before you take the dive!